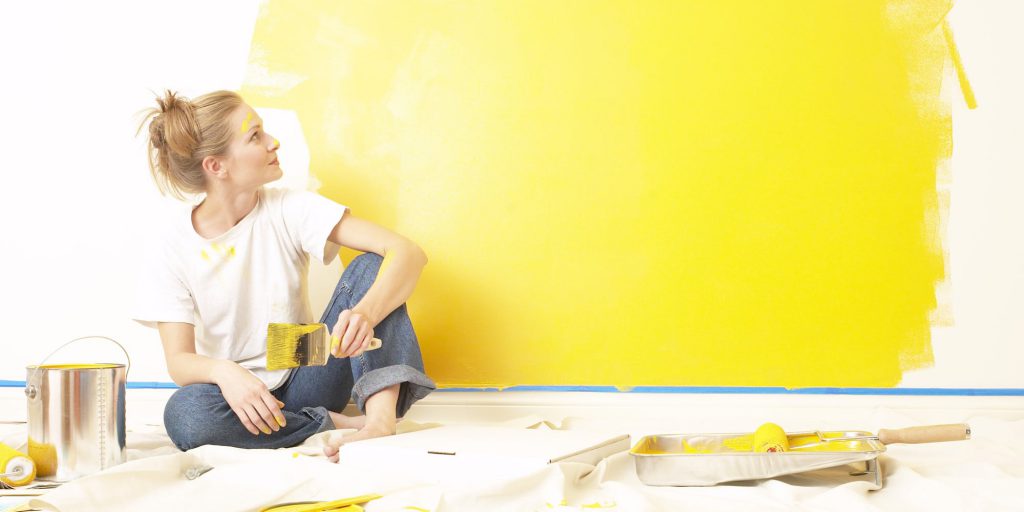
It’s the sacred place where you hang out in your pajamas and binge-watch TV shows. Doesn’t it deserve better? There are cheap and easy DIY home improvement ideas that will vastly improve your home.
12 DIY Home Improvement Ideas You Should Try Now
Number 1
Create wainscoting by buying frames from a craft store and painting them to match the wall. Okay, so here is the fun part. This idea allows you to Install Wainscoting Without Power Tools and it requires a latex based paint instead of oil-based paint. Find a reason on charmingzebra.com.
Number 2
Regrout that shower. You will live your best life with a mold-less shower. Directions. Remove all the caulking. Bring the shop vac into the bathroom to suck up the bits of caulking and grout dust. After that, go over the gaps where mildew had been with a solution of bleach water and a stiff brush. You could also use vinegar, too. Next, use Spectralock Grout and some color.
You can find everything easily on Amazon . After that, make some mess with that stuff. Get some cheapie, glove or mask if you have to. Clean it, and wait few days to get your mix dried and hardened. Last, caulked it. And make sure you’re using caulk specifically for a shower/tub – you want something that can withstand the water. Then you will get the result is that it’s NO mildew! How awesome is that?
Number 3
One of the amazing DIY improvement ideas is using peel-and-stick tiles to cover up a leaked-on cabinet bottom. When the floor of your sink cabinet needs a spruce-up, lay down squares of self-adhesive vinyl tile. They’re about a buck a square at home centers and provide an easy-to-wipe-clean surface.
Number 4
Give your living room sofa a little perk by re-stuffing the cushions because the chair looks quite sad. After about $35 worth of supplies, and less than an hour of my time, I have a chair that looks like new! This chair is less than a year old, but the stuffing hasn’t held up well and makes it look worn and tired.
The DIY improvement ideas I want to share here are derived from my experience. I removed the cushion and discovered the fill had separated, so I cut a small slit in the cushion to add more, then sewed it back up! The additional polyfill gave the cushion back its loft. I then cut the shape of the cushion out of 2-inch foam and added batting to it, then put that inside of the cushion cover to provide support for the shape. This way the cushion can’t sag.
Number 5
Hang mugs and tea cups on hooks. Do you have a mug or tea collection threatening to overwhelm your interior cabinet space? Take a cue from these photos and hang them on hooks instead. This look is particularly fetching with brightly colored mugs or teacups, but simple white has a charm all its own.
Number 6
Coat your new kitchen countertop to look like an expensive stone.
Step 1: Prepare the surface with the Diamond Embedded Sanding Tool (included).
Step 2: Apply the Countertop Transformations Adhesive Base Coat.
Step 3: Spread the Decorative Color Chips.
Step 4: Sand and smooth.
Step 5: Apply the Countertop Transformations Protective Top Coat.
Number 7
Turn your cheap dining room table into something straight out of a Restoration Hardware catalog. First use a couple cans of leftover FAT Paint chalk paint, mixed together, to come up with a table color. No sand or prime, just painted it on! all of the boards purchased in one bundle from Rona (Canada’s home improvement store) for $6! the wood top is nailed.

Number 8
Make new curtain rods out of copper pipes and fittings. Simply take any measurement you need and cut accordingly.
Number 9
Replace your boring air grille with sheet metal you can buy at any hardware store. Always wondered what those sheets of metal with the cool designs on them were for? Direction: I held the metal up to the intake and used my best judgment to cut the sheet using the tin snips pictured above.
Next, I cut two long narrow strips to cover the space. Once the metal had the right size, I took it out to the garage to prime and paint it the same color as our baseboards. To paint the metal, I used a 6″ foam roller and laid the metal directly on the construction paper on the floor.
Number 10
Tenth DIY home improvement ideas are hiding your knife rack under the cabinet. It’s suitable for tiny kitchen with tons of amenities
Step 1: I invented it, simply standing at the stove, new knife in hand, without the assistance of Mr. Google.
Step 2: The slim profile of the magnetic strip takes up much less room than the bulky wooden under-cabinet knife block; it bears repeating – 64 square feet. All space is at a premium.
Step 3: Because it is so slim, the knife rack disappears when the cabinet is shut; you would never see it unless you knew it was there.
Step 4: It was a snap to install (well, if you have a handy husband with a drill, that is).
Step 5: When we eventually move on to some other tiny kitchen, it is flexible for wall or under-cabinet use. So there you have it: under-cabinet magnetic knife rack. I am in love with mine.
Number 11
Use kitchen cabinets and IKEA butcher block countertops to fake the look of built-ins. Do I need to paint the inside of the cabinets no one but me will ever see? (I mean, obviously, I have no life.) No. But there’s something to be said for having an organized space look pretty too. I simply taped them off and did one coat of the color I used on the backs of the built-ins. I had to do one coat each too – which totally surprised me.
The paint is the SW Duration kind and it covered great. After it was dry I did a super quick purge and then loaded everything back in. I have a cabinet for holiday stuff.
Number 12
Turn your blinds into Roman shades is one of the common DIY home improvement ideas you should know.
Step 1: Measure your window.
Step 2: Release your mini-blind and sprawl them on your floor.
Step 3: Cut away the thin, ladder-like strings. But Don’t cut that thick one!!! That is the cord that raises and lowers the blinds – you will need that!
Step 4: Use a small screwdriver and pop off the plug on the bottom piece of the blinds.
Step 5: Slide off all the slats, except for the ones you need for your folds.
Step 6: Cut your blackout liner to the exact size of your window. Then cut out a print fabric 1 1/2” larger in all sizes. iron the print fabric and then placed it print side face down and the blackout liner on top. Use your Fabri-tac glue to glue the edges of the print fabric onto the blackout liner.
Step 7: Place the remainder of the mini-blind on top of the glued fabric, placing the top at the top of the fabric. Glue the mini-blind top onto the blackout shade making sure you do not glue the pull-up cord to the blinds.
Step 8: Measure out where your slats will be of your fabric and glue the concaved side of the slat (the side with the most surface area) onto the shade. Make sure you DO NOT get any glue on the pull-up cord.
Step 9: Now take the end of the pull-up cord and reinsert it in a hole on the base of the shade. Re-tie a knot at the end of the string and put the plug back in. Glue down the base of the shade at the bottom of the fabric.
Your new shade is done. Those are 12 DIY home improvement ideas for now if you want to get new home decor ideas sent directly to your favorite email. And don’t hesitate to press the share button on this post if you like this post.