


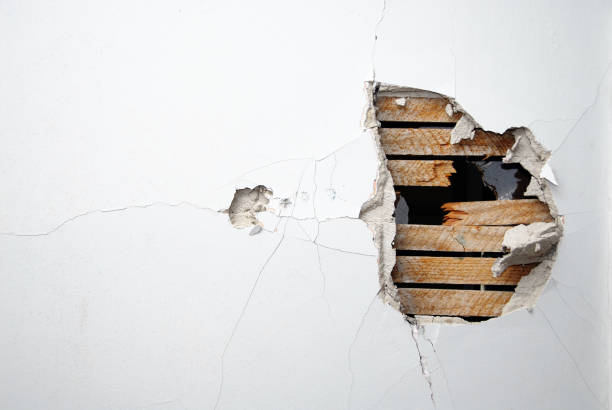
Accidentally punched a hole in the wall while moving furniture? Or maybe you removed a wall anchor and were left with an unsightly gap. Don’t worry – learning how to patch a hole in the wall is much easier than you might think.
Whether you’re dealing with a tiny nail hole or a larger dent in drywall, most repairs require only a few basic tools and materials. With a little patience, you can restore your wall to a smooth finish that’s ready for paint.
This beginner-friendly guide walks you through the entire process, from choosing the right repair method to achieving professional-looking results.
Know What Type of Hole You’re Repairing
Before you grab your tools, take a close look at the damage. The size of the hole determines the repair method you’ll use.
Here are the most common types:
- Small holes (up to ½ inch): Usually caused by nails, screws, or wall anchors.
- Medium holes (½ to 6 inches): Often the result of accidental impacts from doorknobs or furniture.
- Large holes (over 6 inches): Typically require a drywall patch or replacement section.
Identifying the damage first helps ensure your repair lasts and blends seamlessly with the surrounding wall.
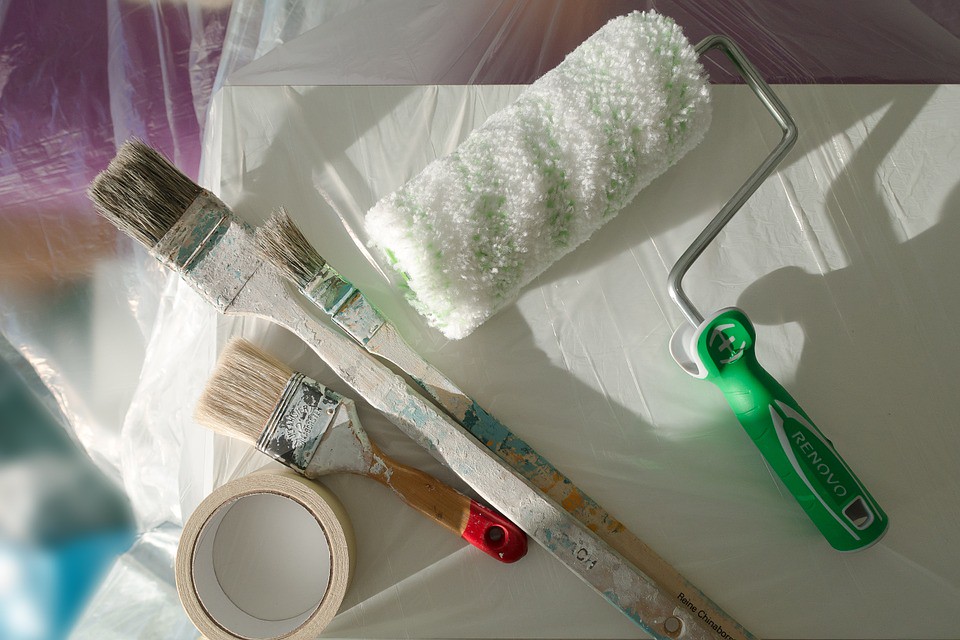
Tools and Materials You’ll Need
Most drywall repairs only require a handful of affordable supplies.
Gather the following:
- Spackling compound or joint compound
- Putty knife
- Sandpaper (120- and 220-grit)
- Utility knife
- Drywall patch (for medium holes)
- Self-adhesive mesh patch (optional)
- Drywall tape (for larger repairs)
- Primer
- Matching wall paint
- Clean cloth
Having everything ready before you start makes the project much smoother.
How to Patch a Small Hole in the Wall
Small holes are the easiest to repair and can often be completed in less than an hour, excluding drying time.
Step 1: Clean the Area
Remove any loose drywall, chipped paint, or dust around the hole. A clean surface helps the patching compound adhere properly.
Step 2: Apply Spackling Compound
Using a putty knife, spread a thin layer of spackling compound over the hole.
Hold the knife at a slight angle and smooth the compound so it extends just beyond the damaged area.
Don’t worry if it isn’t perfectly smooth on the first pass—you’ll sand it later.
Step 3: Let It Dry
Drying times vary depending on the product, but most compounds take anywhere from 30 minutes to several hours.
Always follow the manufacturer’s instructions before sanding.
Step 4: Sand Until Smooth
Once dry, lightly sand the repaired area until it blends with the surrounding wall.
Run your hand across the surface. If you can feel a bump, apply another thin coat and sand again after it dries.
Step 5: Prime and Paint
Apply primer before painting to ensure the repaired spot absorbs paint evenly.
Finish with matching wall paint, and the repair should become nearly invisible.
How to Patch a Hole in Drywall (Medium Holes)
Learning how to patch a hole in drywall that’s several inches wide requires one additional step: reinforcing the damaged area.
Step 1: Trim Loose Edges
Use a utility knife to remove broken drywall around the hole.
Creating clean edges makes it easier for the patch to adhere.
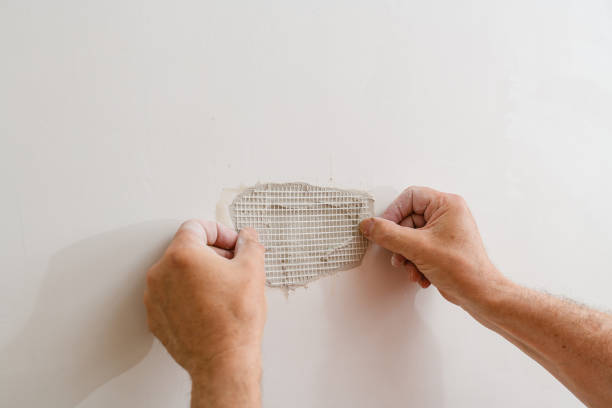
Step 2: Install a Mesh Patch
Center a self-adhesive mesh drywall patch over the opening.
Make sure it extends at least one inch beyond the damaged area on all sides.
Step 3: Apply Joint Compound
Using a wide drywall knife, spread joint compound over the patch.
Feather the edges outward so the repair gradually blends into the existing wall.
Step 4: Apply Additional Coats
Most repairs need two or three thin coats rather than one thick layer.
Allow each coat to dry completely before adding the next.
Step 5: Sand, Prime, and Paint
After the final coat dries, sand the area until smooth.
Finish with primer and matching paint to complete the repair.
How to Repair Drywall for Large Holes
When the hole is larger than about six inches, a simple mesh patch usually isn’t enough.
Instead, you’ll need to install a new piece of drywall.
The basic process includes:
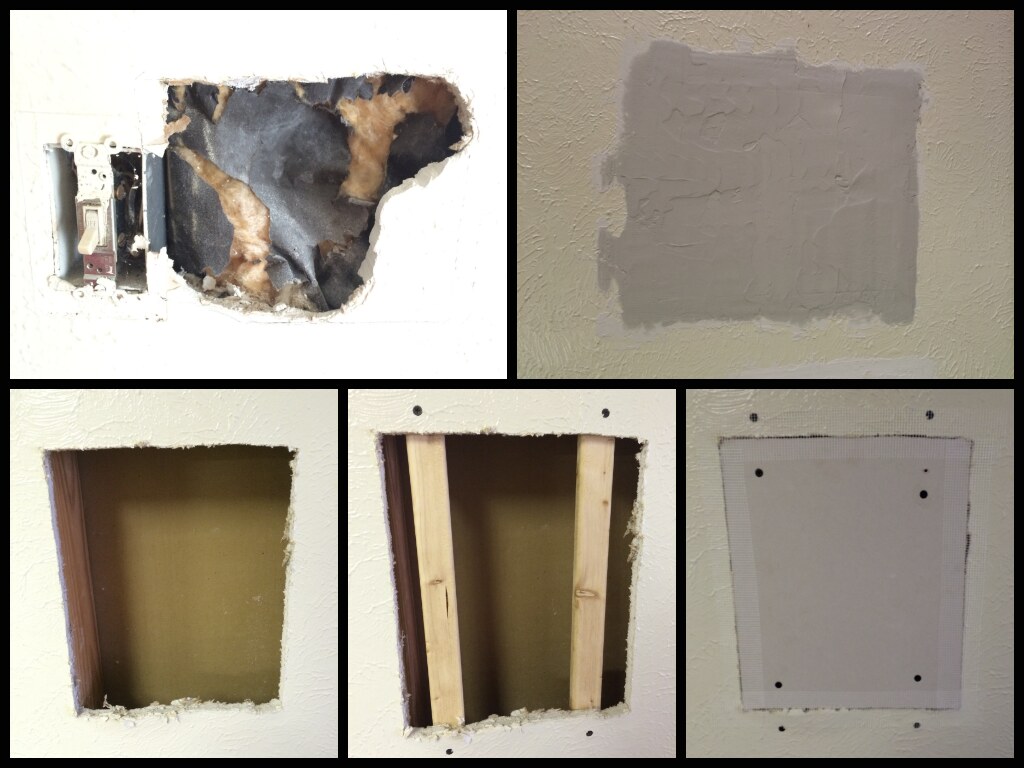
- Cutting the damaged section into a square or rectangle.
- Installing wood backing behind the opening.
- Cutting a new drywall piece to fit.
- Securing the patch with drywall screws.
- Applying drywall tape over the seams.
- Covering everything with multiple coats of joint compound.
- Sanding, priming, and painting.
Although this repair takes more time, it’s still manageable for many DIY beginners who are willing to work carefully.
Common Mistakes Beginners Should Avoid
Even simple drywall repairs can look uneven if a few basic steps are skipped.
Here are some common mistakes to avoid:
Applying Too Much Compound
Thick layers take longer to dry and often crack as they shrink.
Several thin coats produce a much smoother finish.
Skipping Primer
Many beginners paint directly over repaired drywall.
Without primer, the patched area may absorb paint differently, leaving noticeable dull spots.
Rushing the Sanding Process
Proper sanding is what makes a repair disappear.
Take your time and check the surface under good lighting before painting.
Ignoring Drying Times
Trying to sand or paint before the compound has fully cured can ruin the repair.
Patience usually leads to much better results.
Tips for a Professional-Looking Finish
If you want your repair to be almost impossible to spot, keep these tips in mind:
- Use a wider putty knife for smoother feathering.
- Sand lightly between coats.
- Match the wall’s paint sheen, not just the color.
- Wipe away sanding dust before priming.
- Apply thin, even coats of paint instead of one heavy coat.
These small details often make the difference between an obvious patch and an invisible repair.
When Should You Call a Professional?
Most homeowners can handle minor drywall repairs themselves.
However, it’s best to contact a professional if:
- The wall has significant water damage.
- Mold is present.
- The damage affects structural framing.
- Electrical wiring or plumbing may be behind the damaged area.
- The hole is unusually large or extends across multiple drywall panels.
In these situations, repairing only the visible surface may not solve the underlying problem.
Final Thoughts
Learning how to patch a hole in the wall is one of the most useful DIY skills for homeowners. From filling small nail holes to tackling larger drywall damage, most repairs require only basic tools and a little patience.
Once you understand how to patch a hole in drywall, you’ll be able to fix everyday damage with confidence while saving money on repair costs. By following the proper steps, using quality materials, and allowing enough time for each layer to dry, you can achieve results that look clean, smooth, and ready for a fresh coat of paint.
Whether you’re preparing your home for sale, fixing everyday wear and tear, or simply improving your living space, knowing how to repair drywall is a practical skill that will serve you for years to come.